Inviting Users: Bring Your Team into the Shared Workspace
ReplyFabric is built for teams: everyone can review, edit, and approve replies — Human-in-the-Loop from day one. This guide shows how to invite a colleague and what the invitation looks like on their side.
Before inviting users, make sure you have signed in and connected a mailbox.
Send an invitation
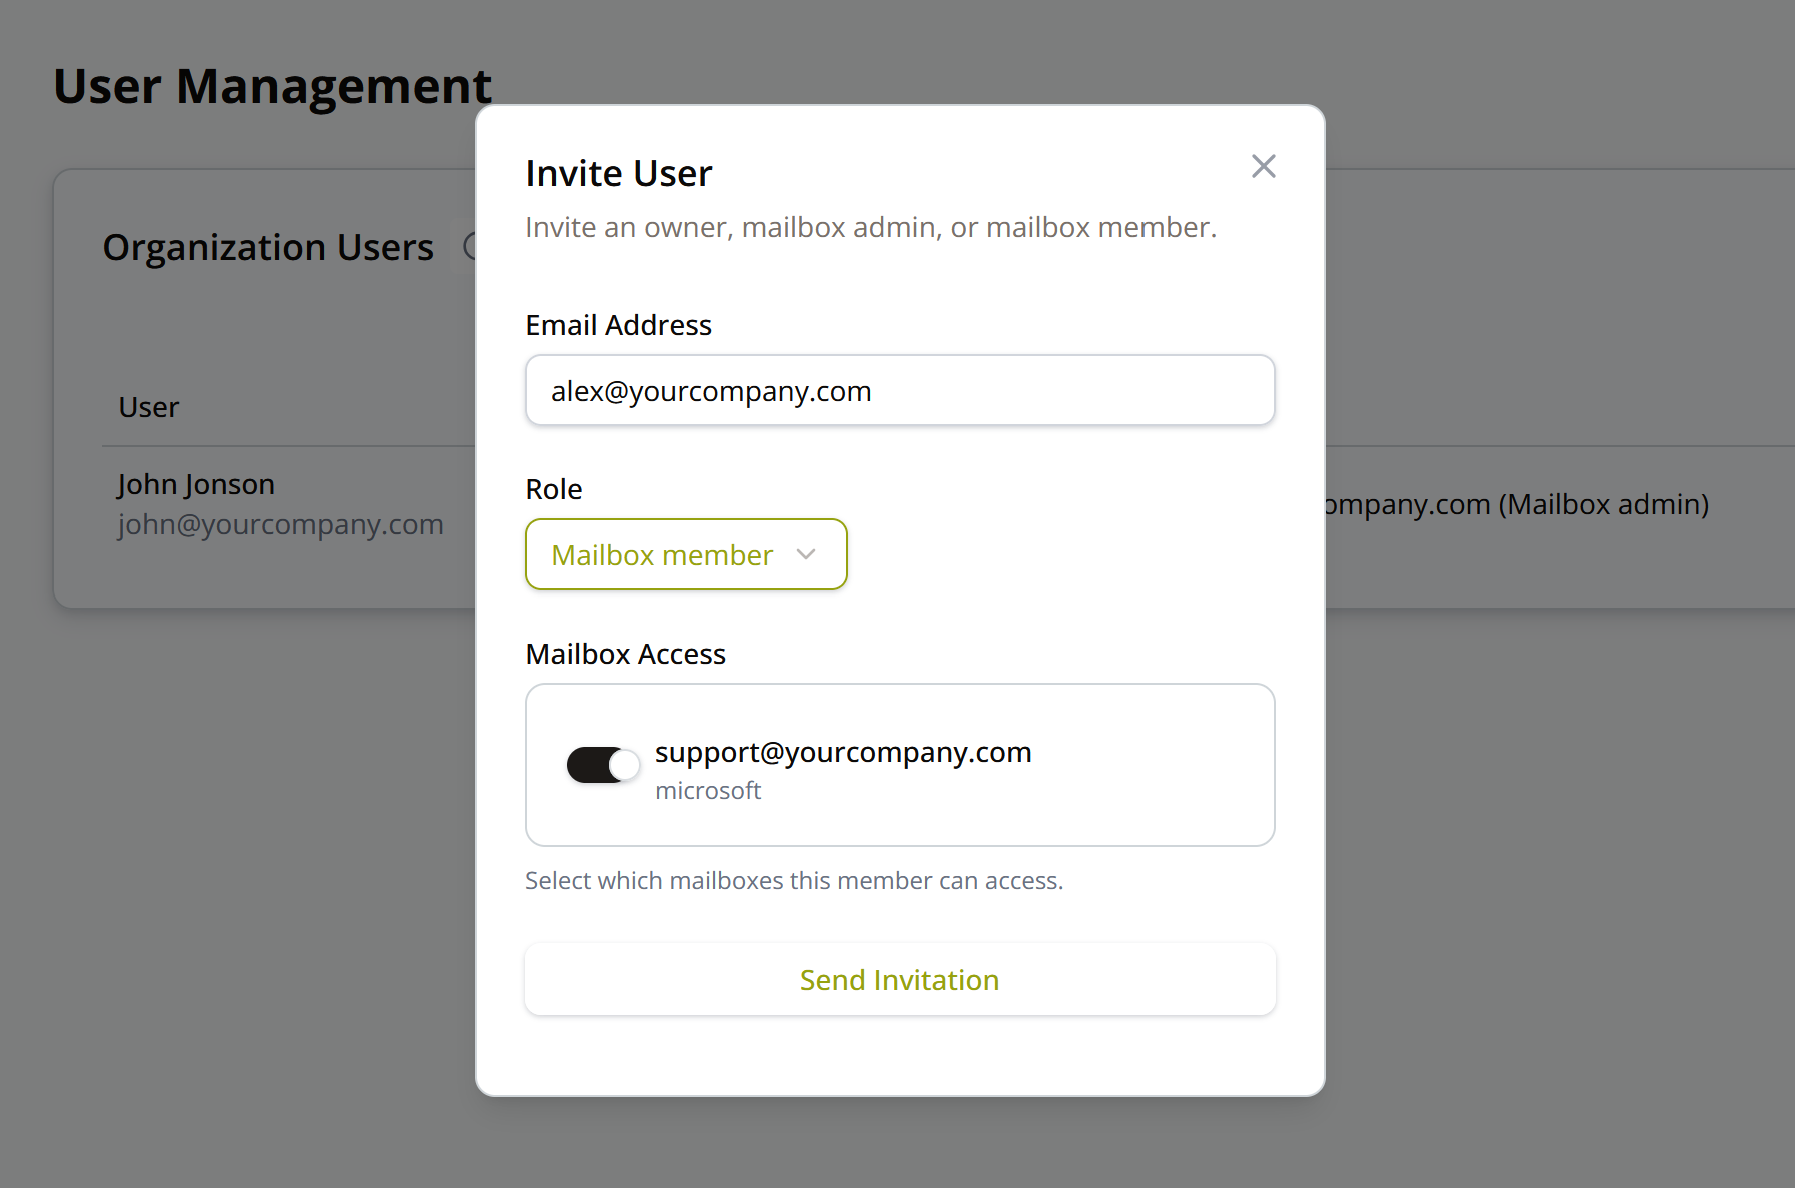
Go to Settings → User Management and click Invite User. In the dialog:
- Enter your colleague's email address.
- Pick a role — Owner, Mailbox Admin, or Mailbox Member.
- Under Mailbox Access, toggle which mailboxes the member can access. This is optional — they can also connect a new mailbox after accepting.
Then click Send Invitation.
Mailbox access is set at invitation time and isn't kept in sync afterward. If you connect a new mailbox later, existing users don't automatically get access to it — send them a new invitation for that mailbox, and they'll receive a fresh invitation link scoped to it.
If you already have more than one mailbox connected when you invite someone, the Mailbox Access toggle list shows all of them. Toggle as many as you want — they all get granted through a single invitation link, not a separate email per mailbox.
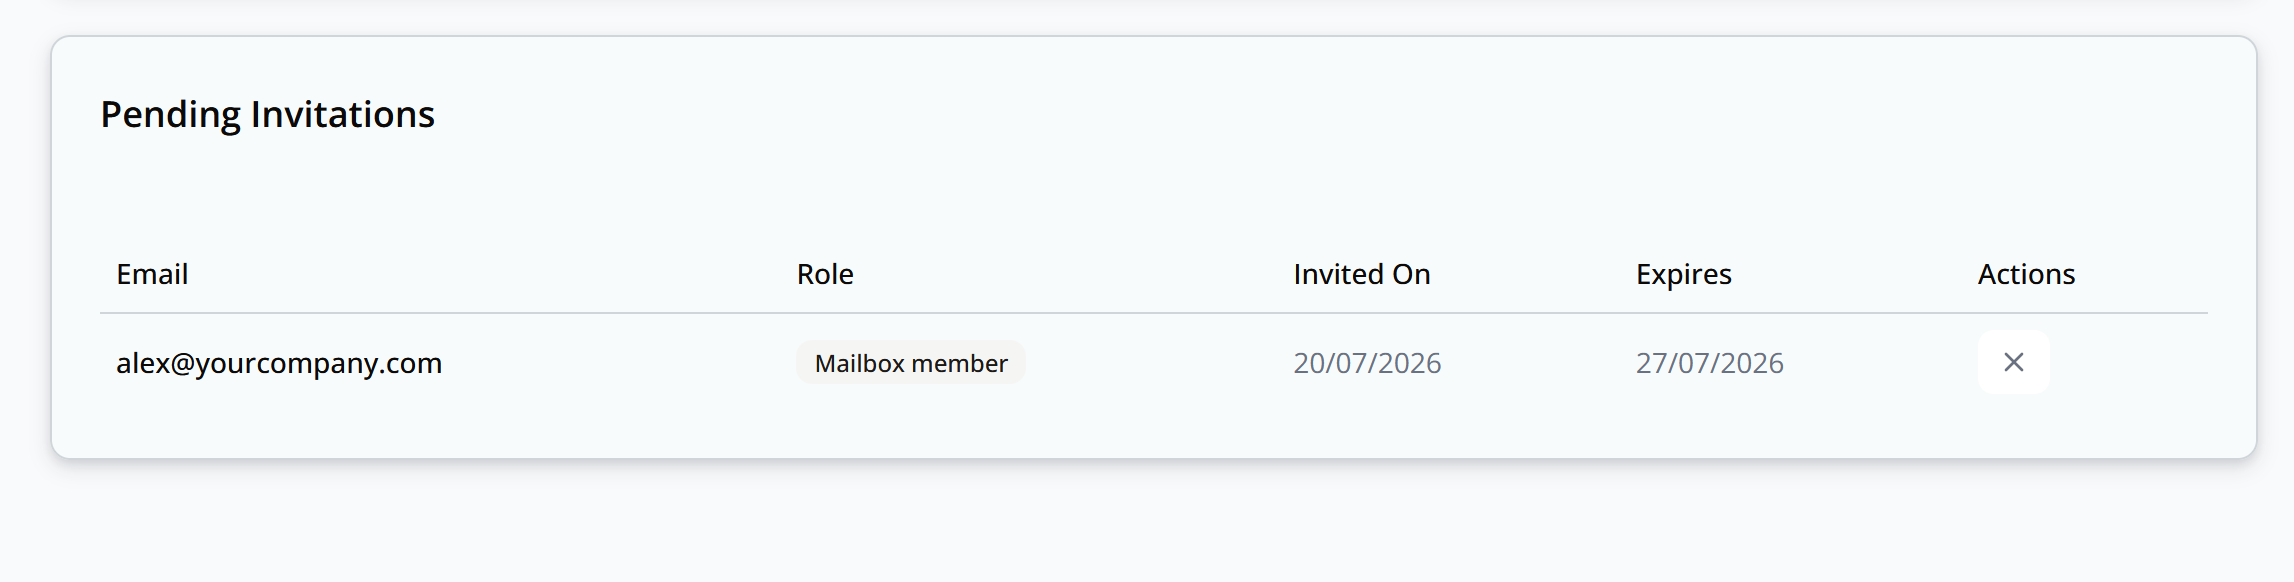
Your colleague now shows up under Pending Invitations in User Management until they accept.
The invitee receives an email
Your colleague gets an invitation email with an Accept Invitation button (plus a fallback link to copy into the browser).
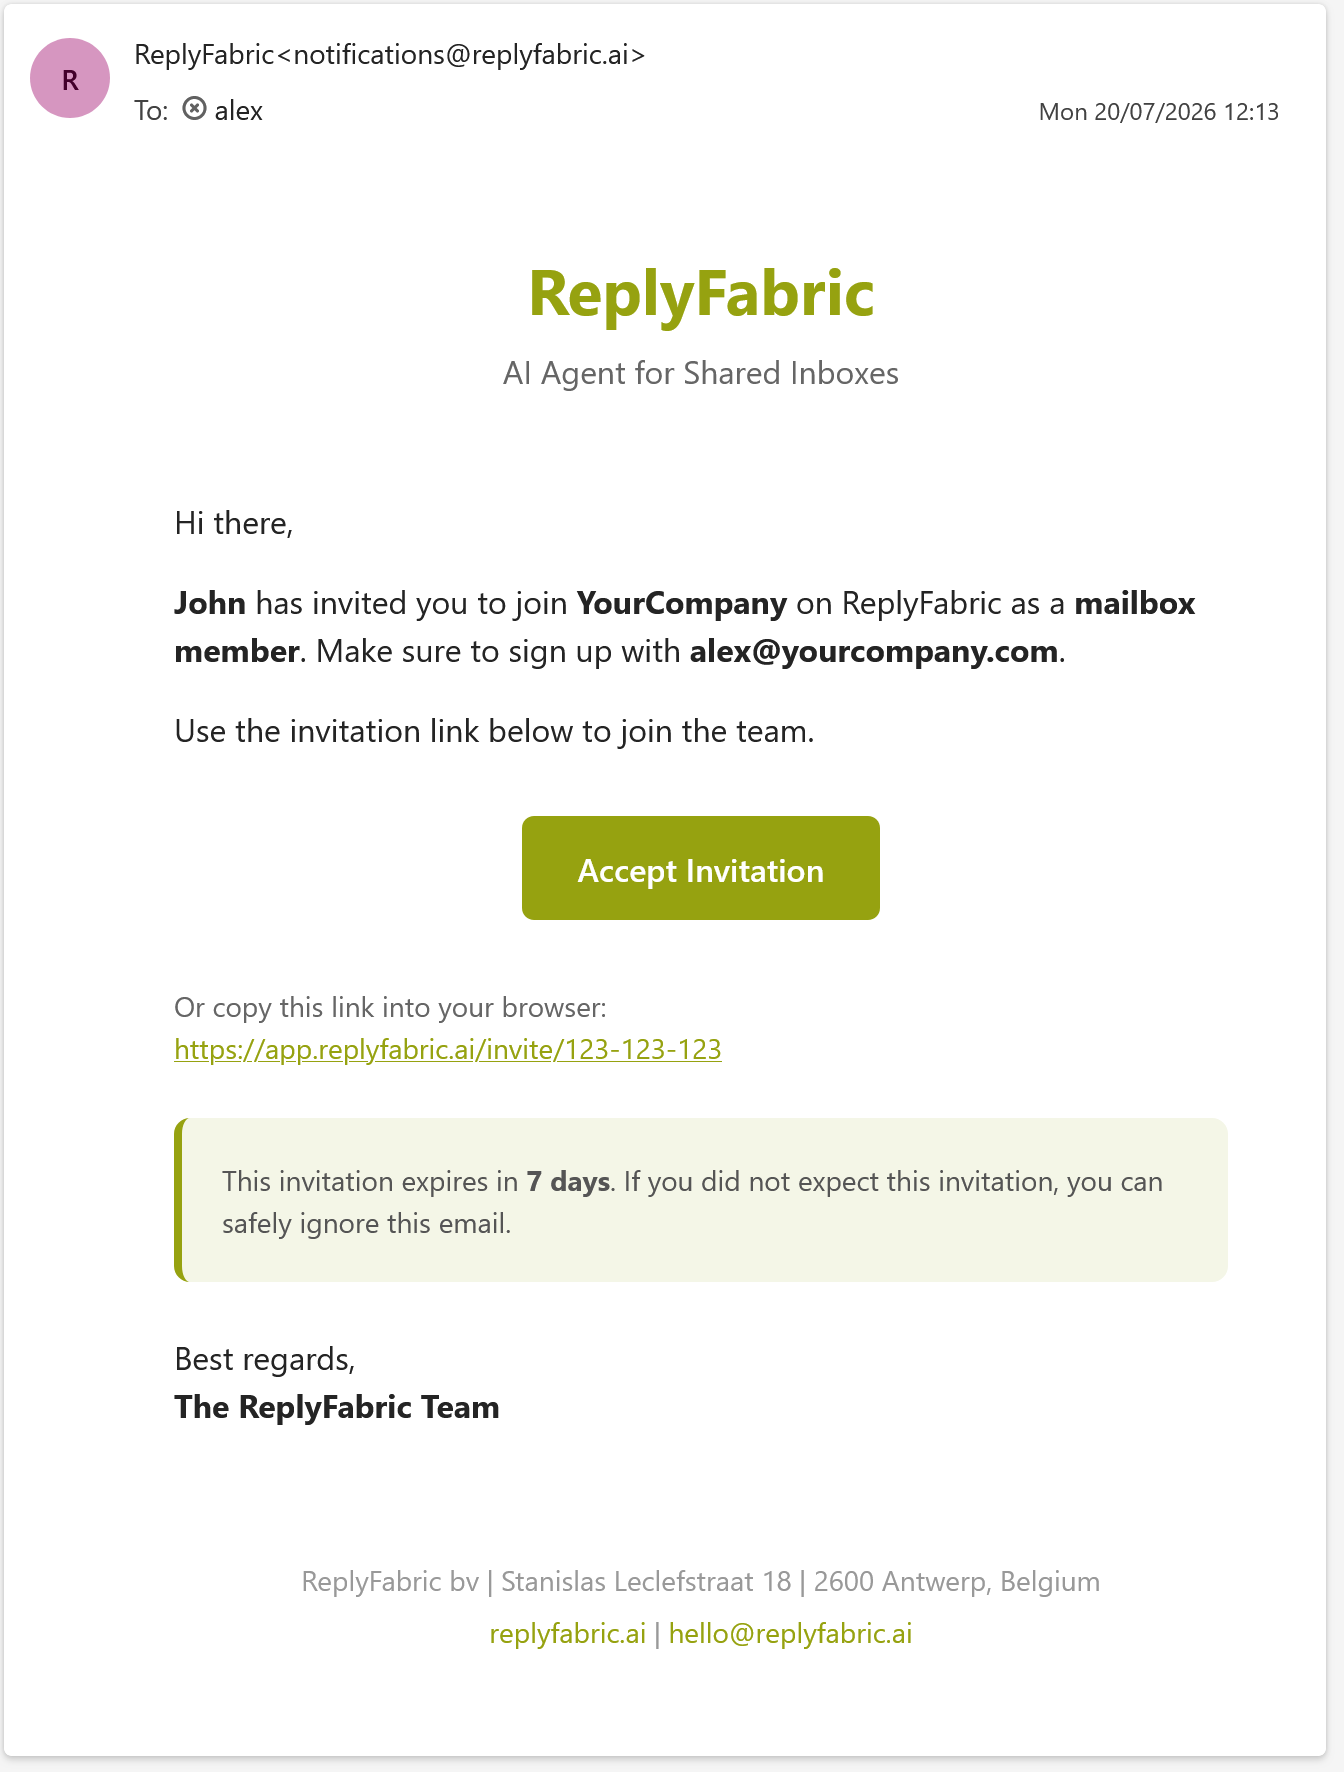
The invitation expires in 7 days. If it lapses, simply send a new one from User Management.
The invitee accepts and signs in
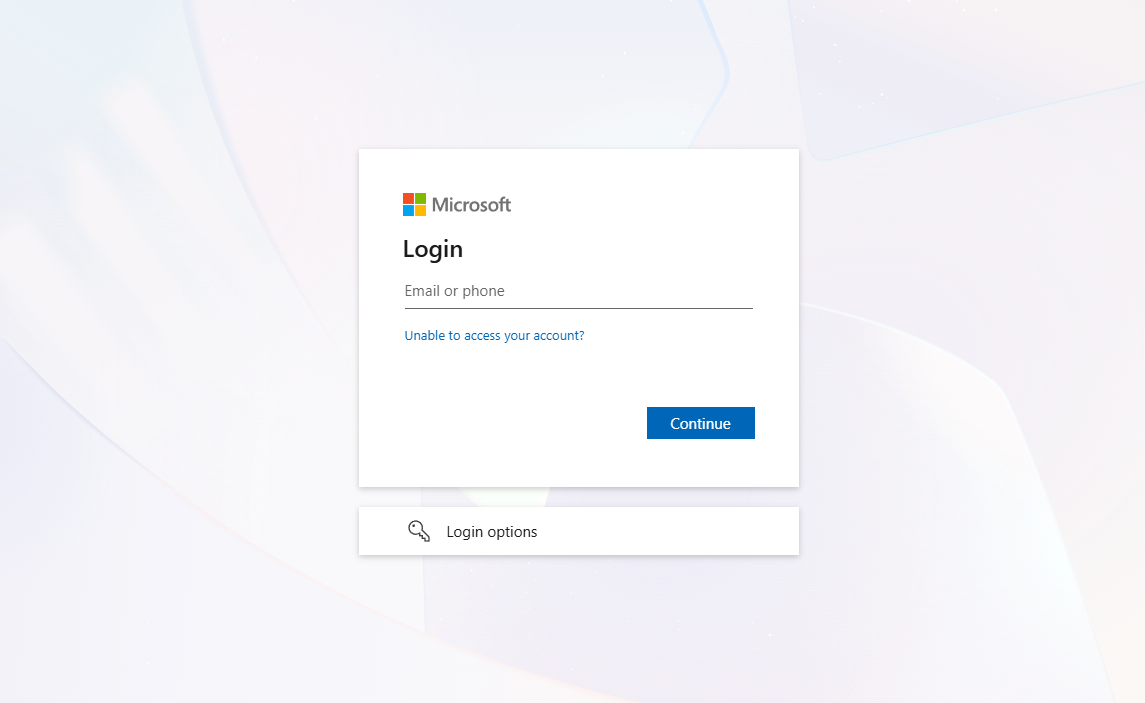
The invitation link opens the accept page, where your colleague signs in with their own Microsoft 365 or Google Workspace account — the same passwordless flow you used.
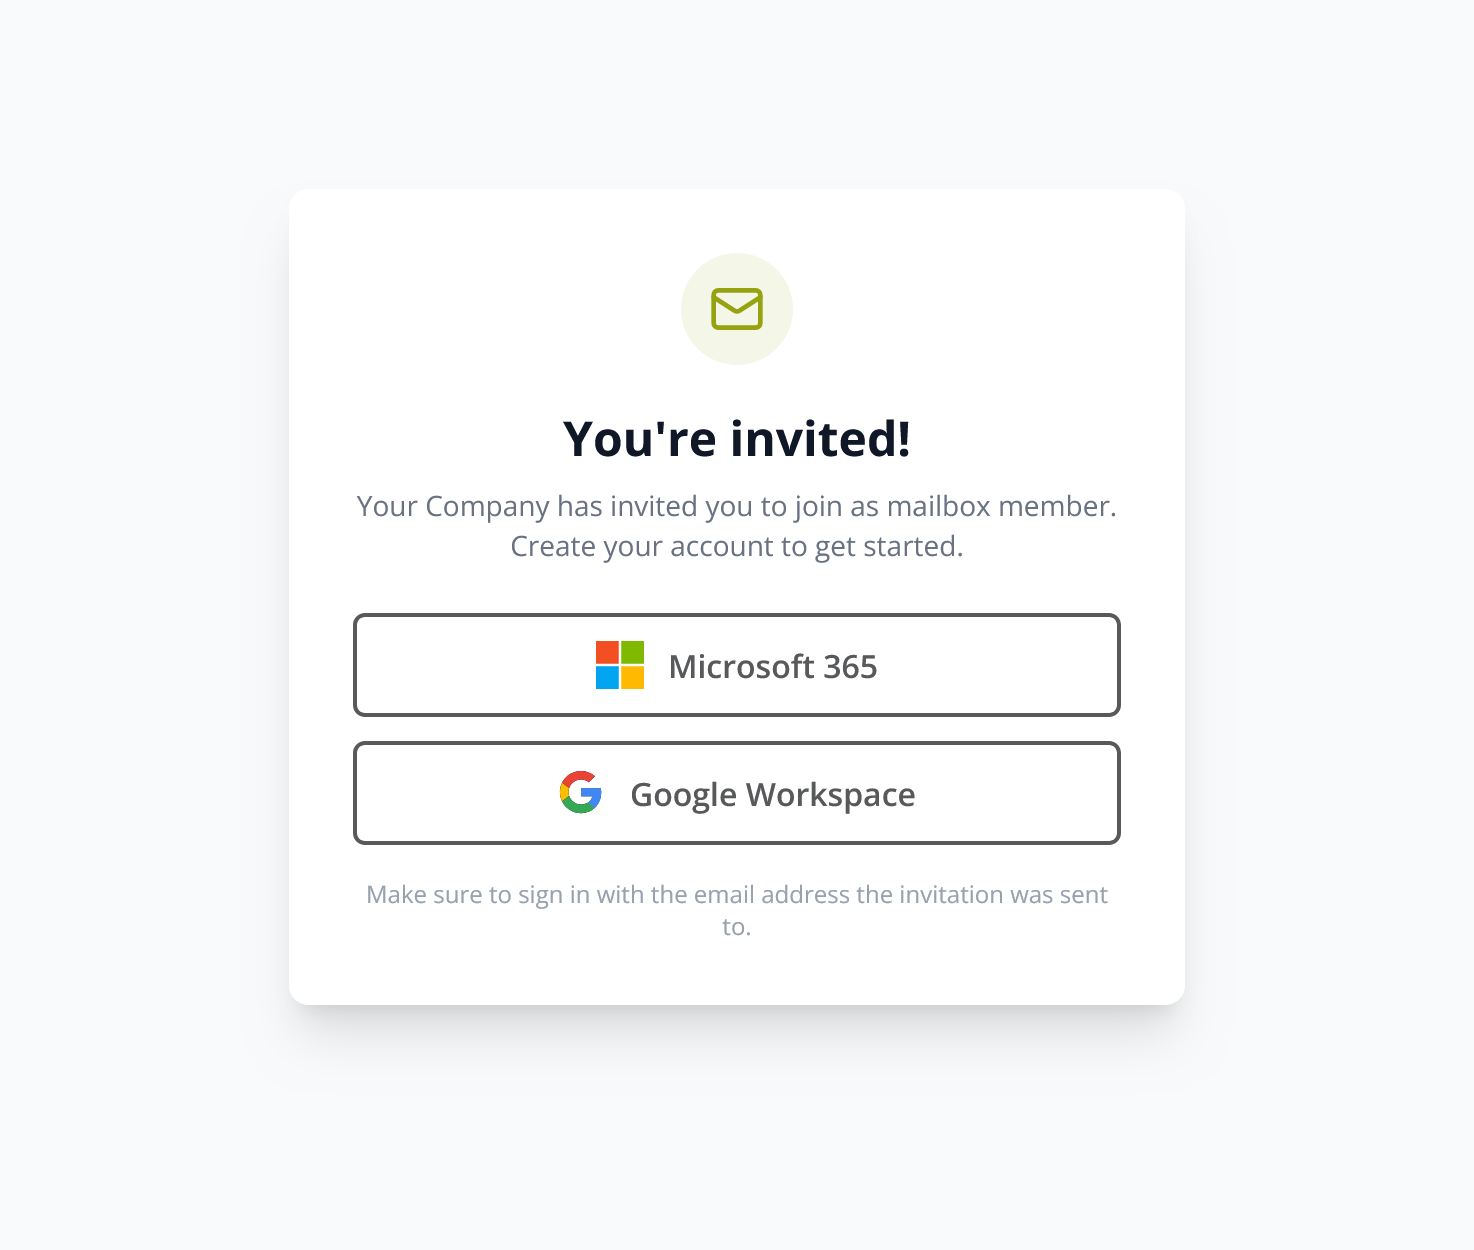
The invitee must sign in with the email address the invitation was sent to. Signing in with a different account will not attach them to your organization.
The invitee secures their account
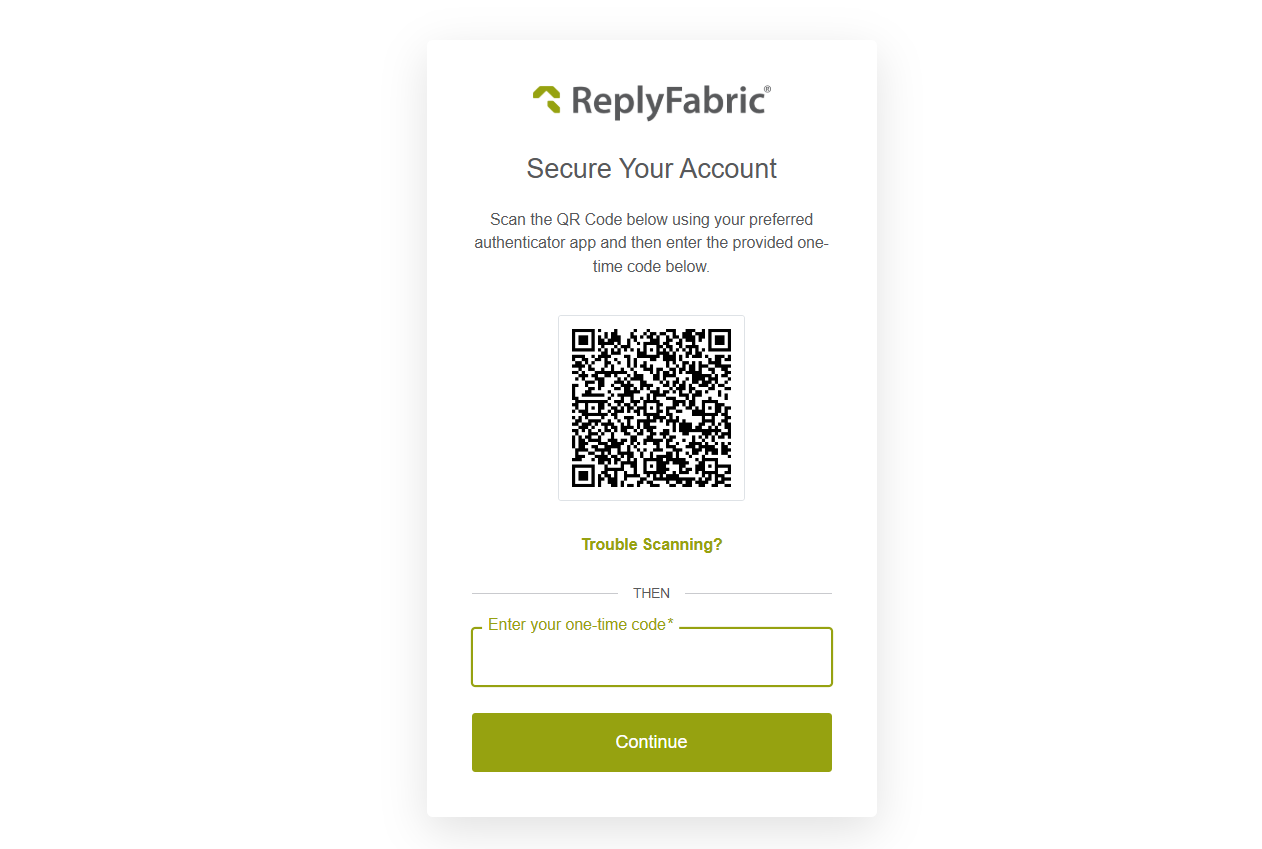
Like every ReplyFabric account, the new member sets up two-factor authentication: scan the QR code with an authenticator app (Microsoft Authenticator, Google Authenticator, 1Password, …) and enter the one-time code.
After that, they land directly in the shared workspace with access to the mailboxes you granted.
What's next
- Understanding Roles & Permissions — what Owner, Mailbox Admin, and Mailbox Member can each actually do.
- Your team is in — now teach the AI your voice with Personas.