Sign In & Connect: From First Login to a Working Shared Inbox
This guide walks the journey from your very first sign-in to a working shared inbox. It takes about 10 minutes, in two stages — shown here with the fictional company Acme:
- Sign in — create your account and set up your organization
- Add a shared mailbox — Microsoft 365, Google Workspace, or a demo mailbox
Once you're set up, bring your team in — that's covered in Inviting Users: Bring Your Team into the Shared Workspace.
Only need the mailbox-connection part? Jump straight to the steps for your provider — Microsoft 365 / Outlook or Google Workspace / Gmail.
Stage 1: Sign in and set up your account
ReplyFabric uses your existing Microsoft 365 or Google Workspace identity — there is no separate password to manage.
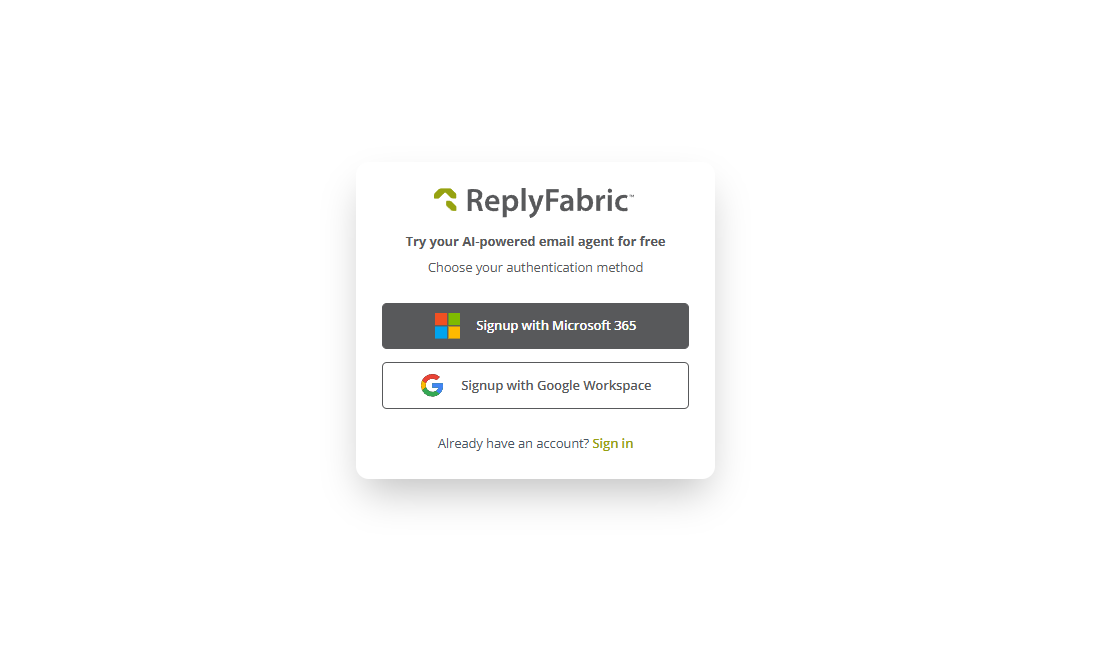
1. Choose your authentication method
Go to the ReplyFabric sign-up page and pick the provider your organization uses. Already have an account? Use the Sign in link below the buttons.
2. Sign in with your provider
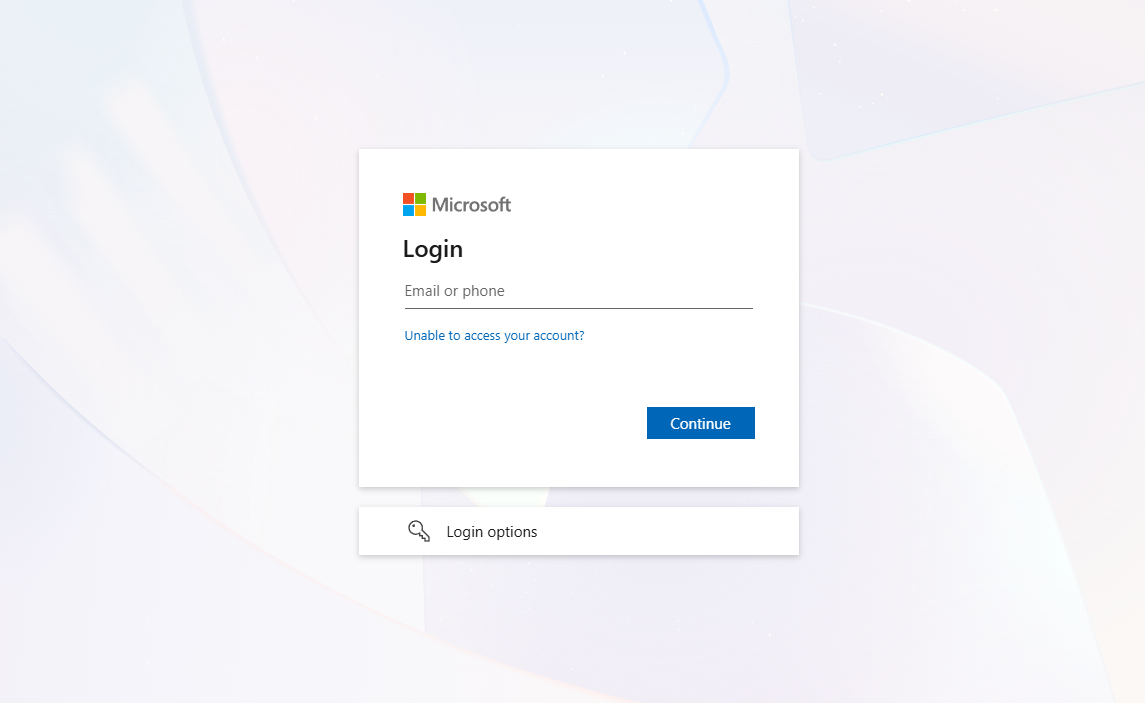
You are redirected to your provider's login page. Enter your work email and password as usual — ReplyFabric never sees your credentials.
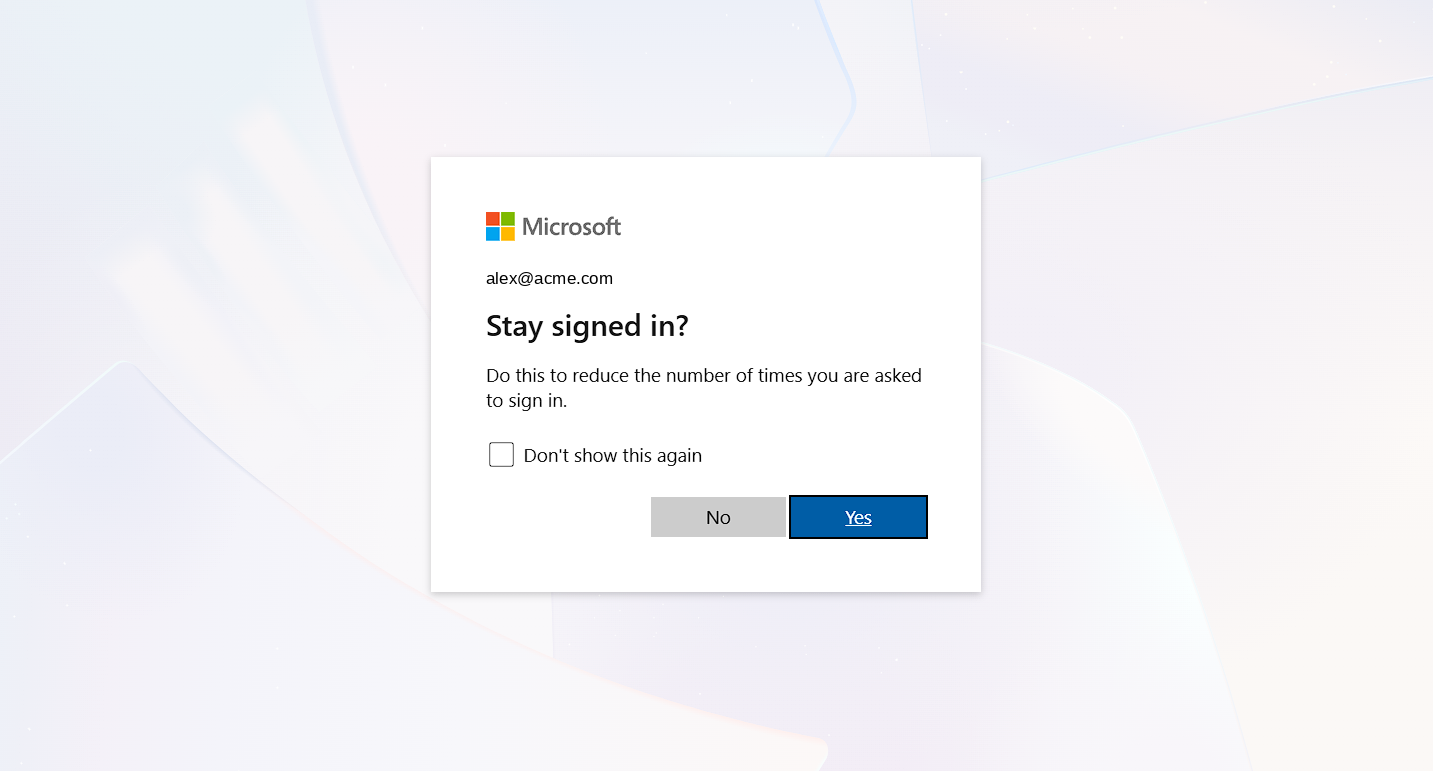
If Microsoft asks whether to stay signed in, choose Yes to reduce repeat prompts.
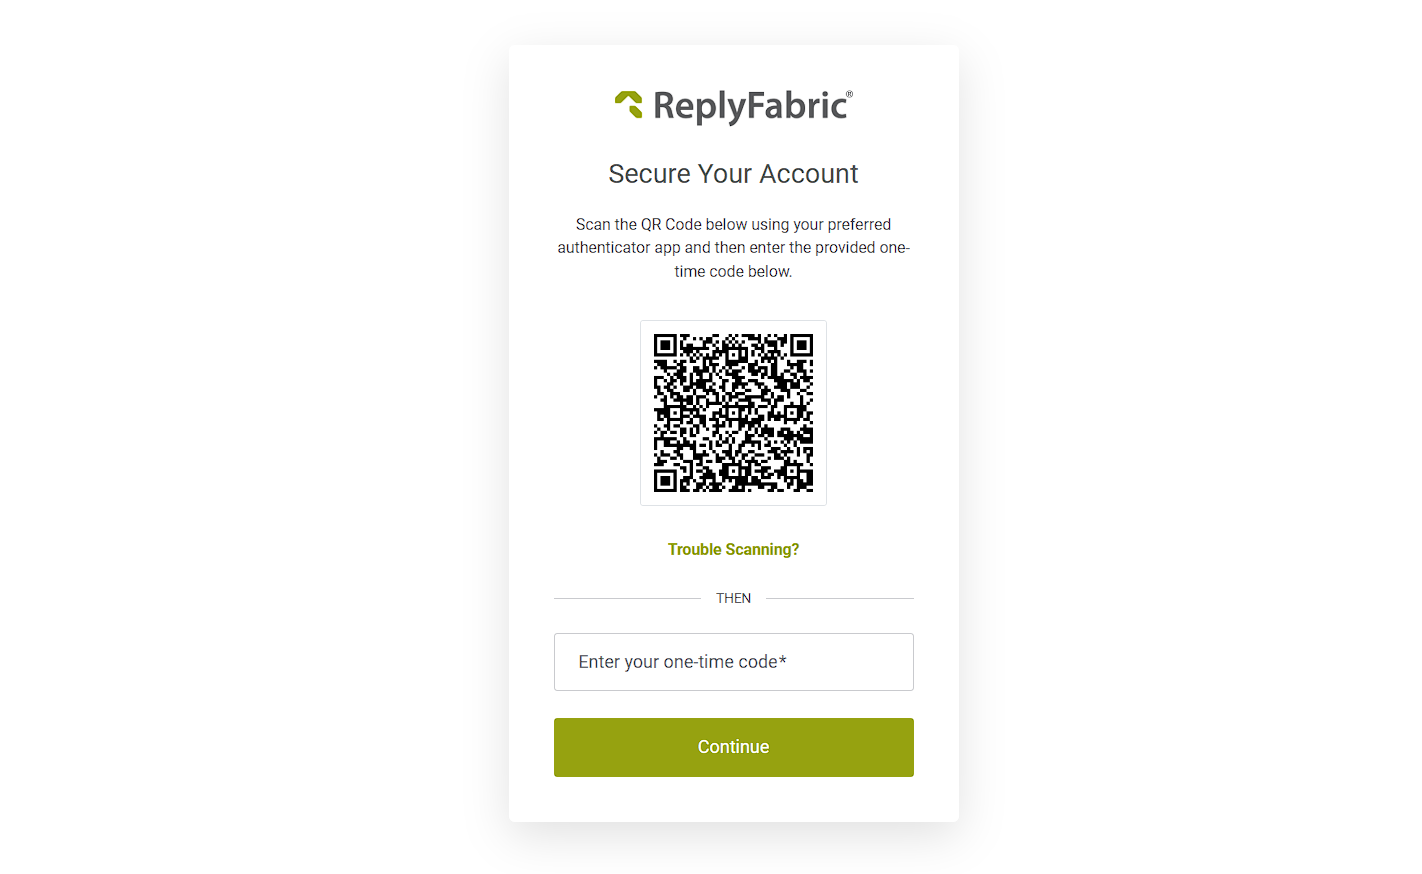
3. Secure your account
Scan the QR code with your authenticator app (Microsoft Authenticator, Google Authenticator, 1Password, …) and enter the one-time code. This protects your inbox data with a second factor.
4. Set up your organization
Only the organization name and default language are required — everything else can wait. The default language drives how ReplyFabric drafts replies, so set it to the language your mailbox mostly receives.
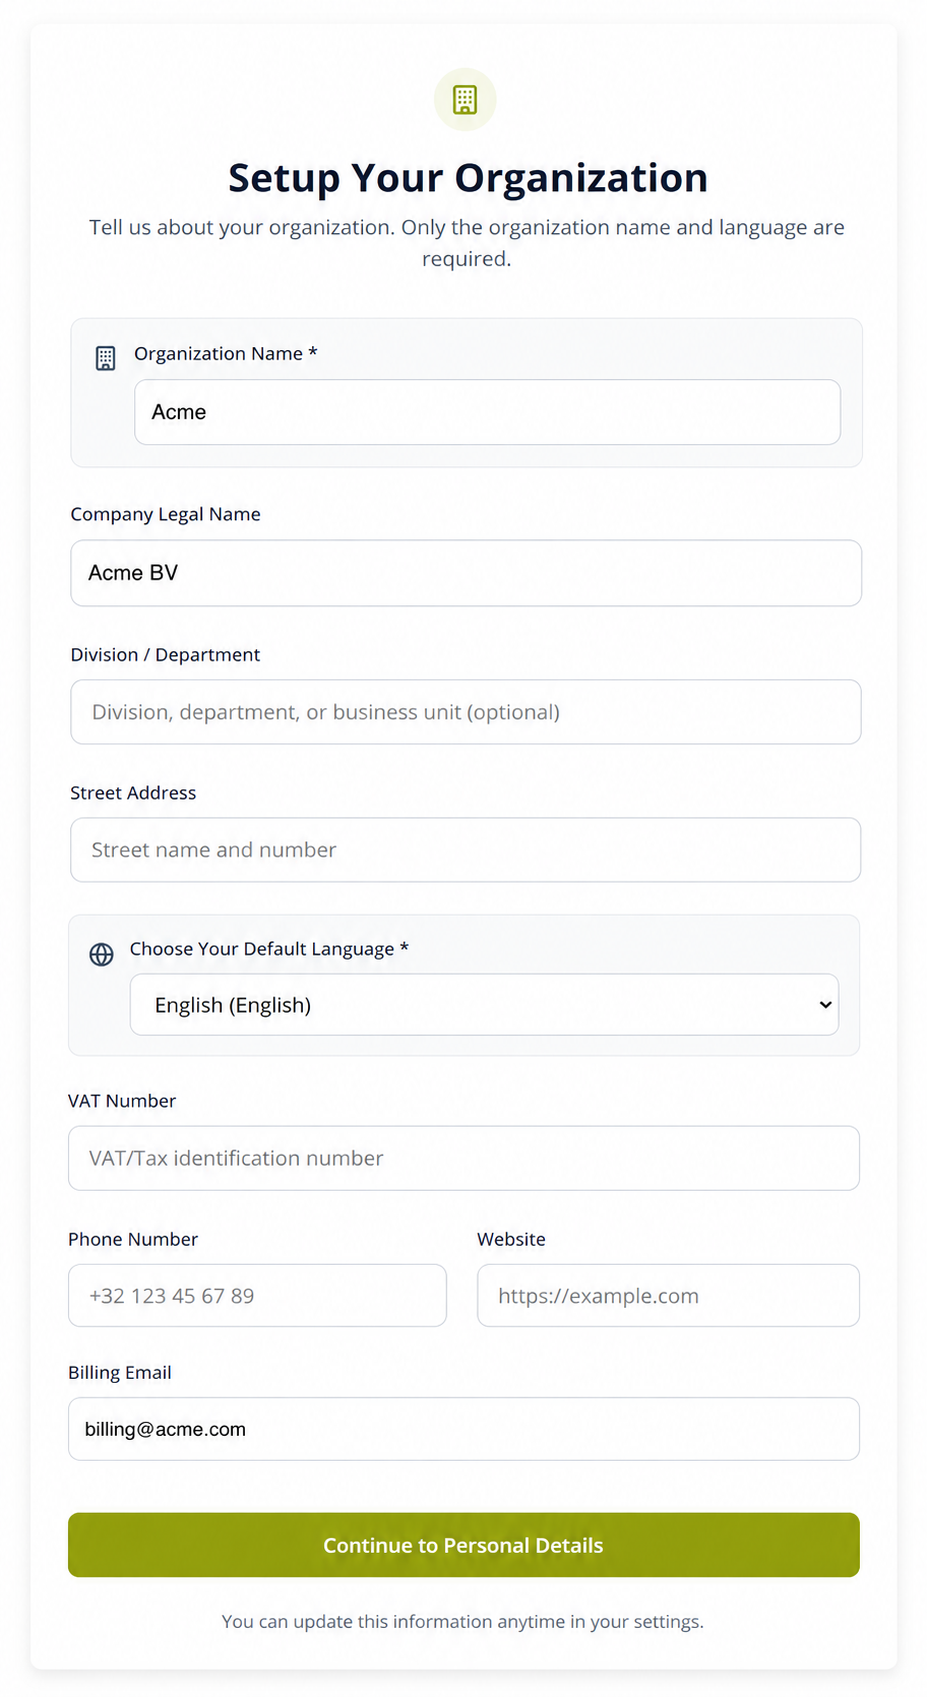
You can update all organization details later in Settings.
5. Complete your personal details
Confirm your name and profile details, then continue.
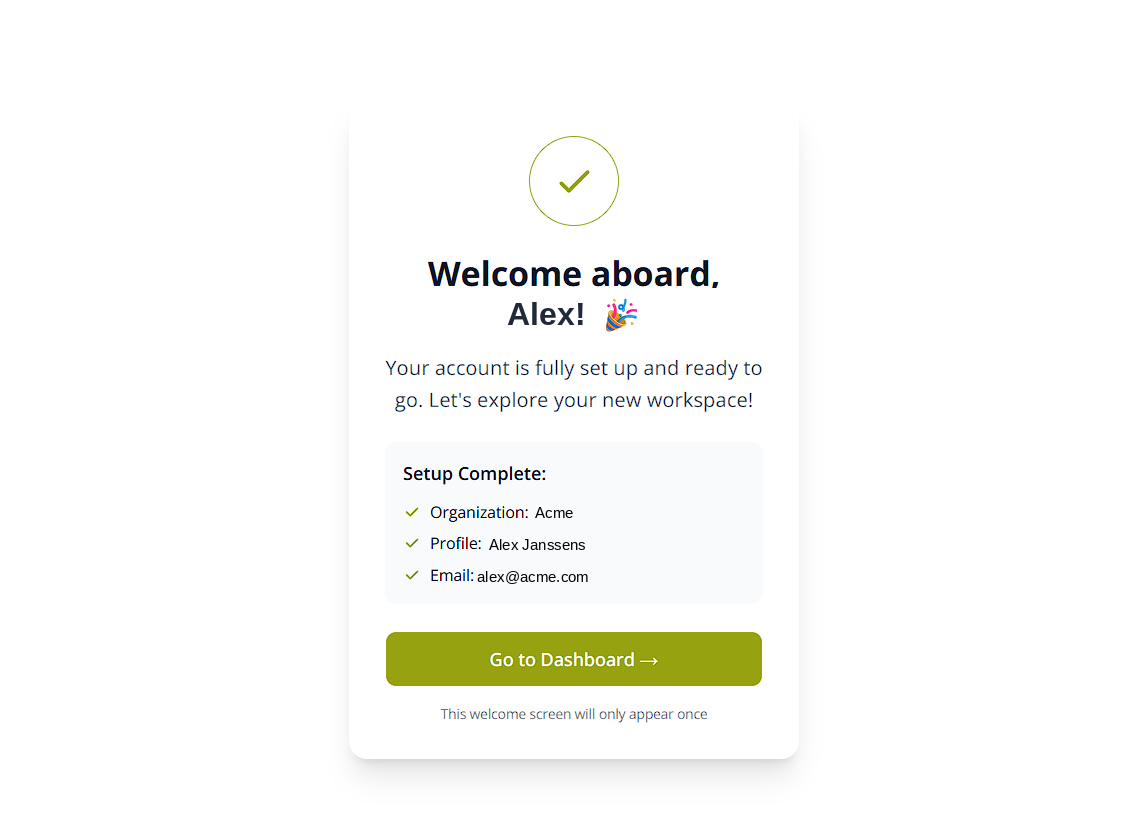
6. You're in
The welcome screen confirms your organization, profile, and email. Click Go to Dashboard to continue.
Stage 2: Add a shared mailbox
Connect the shared mailbox your team works from (info@, sales@, support@) — or start with a demo mailbox in 2 minutes.
1. Select your email provider
Choose Microsoft 365 or Google Workspace. Not ready to connect a real mailbox? Use Skip & Create Demo Mailbox to try ReplyFabric without touching production email.
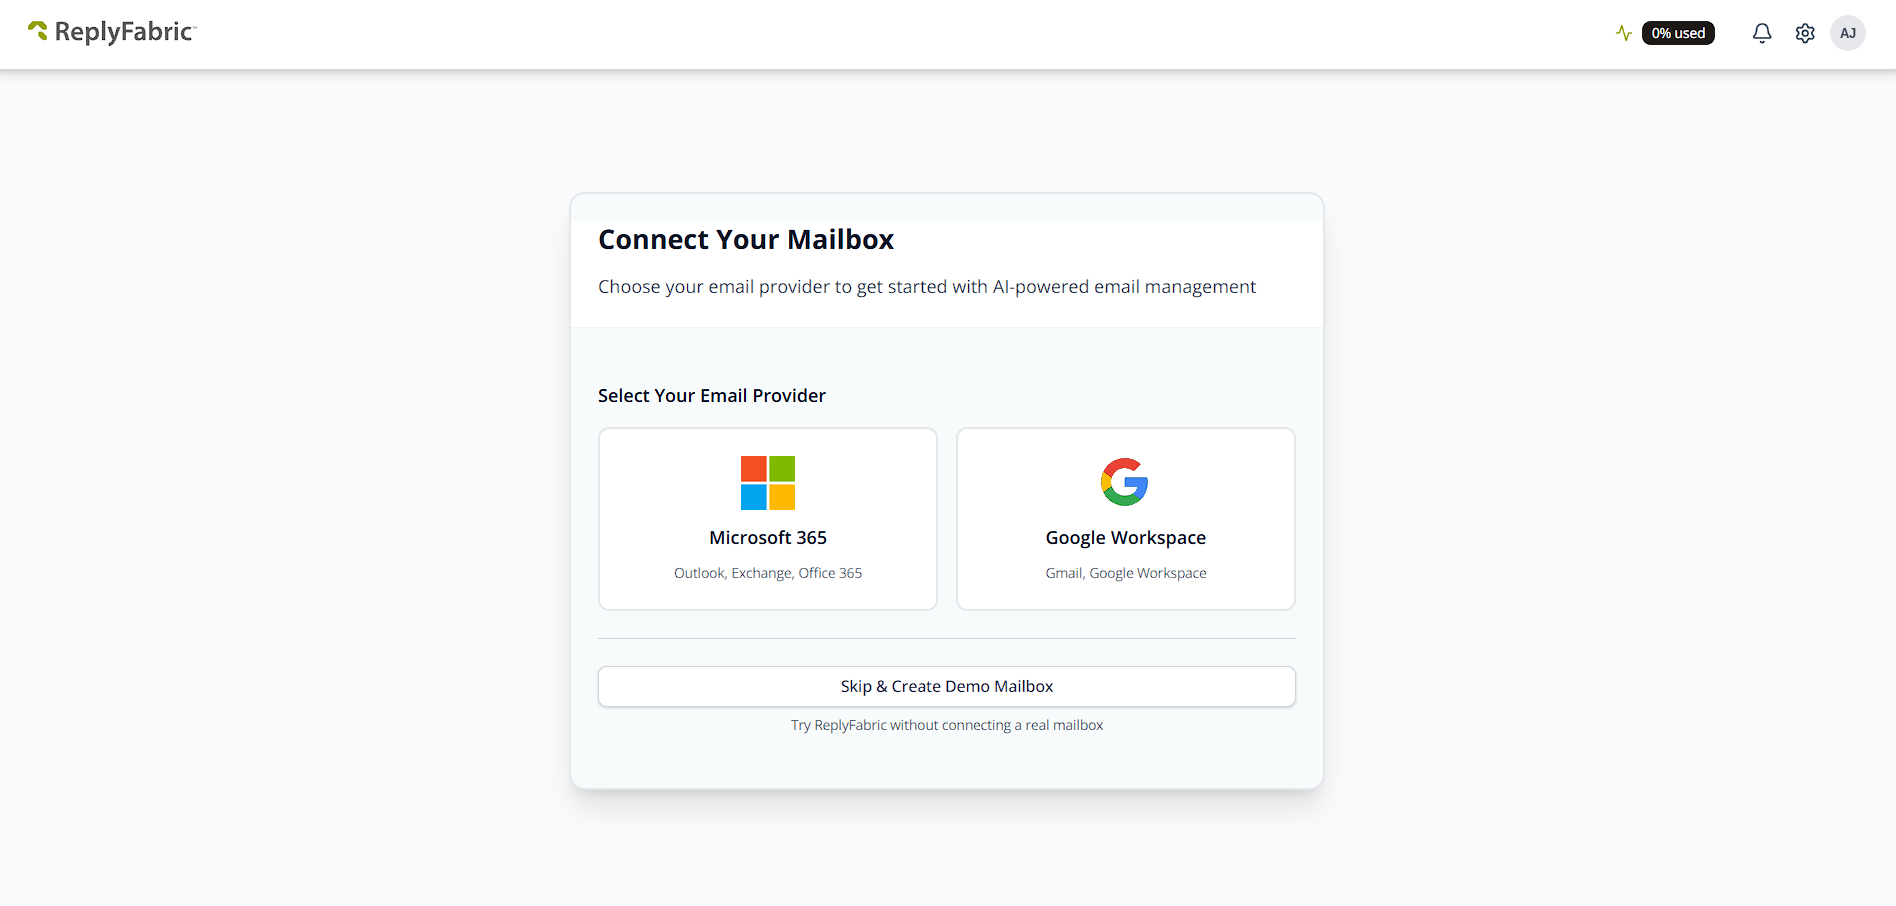
2. Enter the shared mailbox address and authorize
The authorization model differs per provider — this is where most connection issues happen, so follow only the section that matches your setup:
- Microsoft 365 / Outlook → go to those steps
- Google Workspace / Gmail → go to those steps
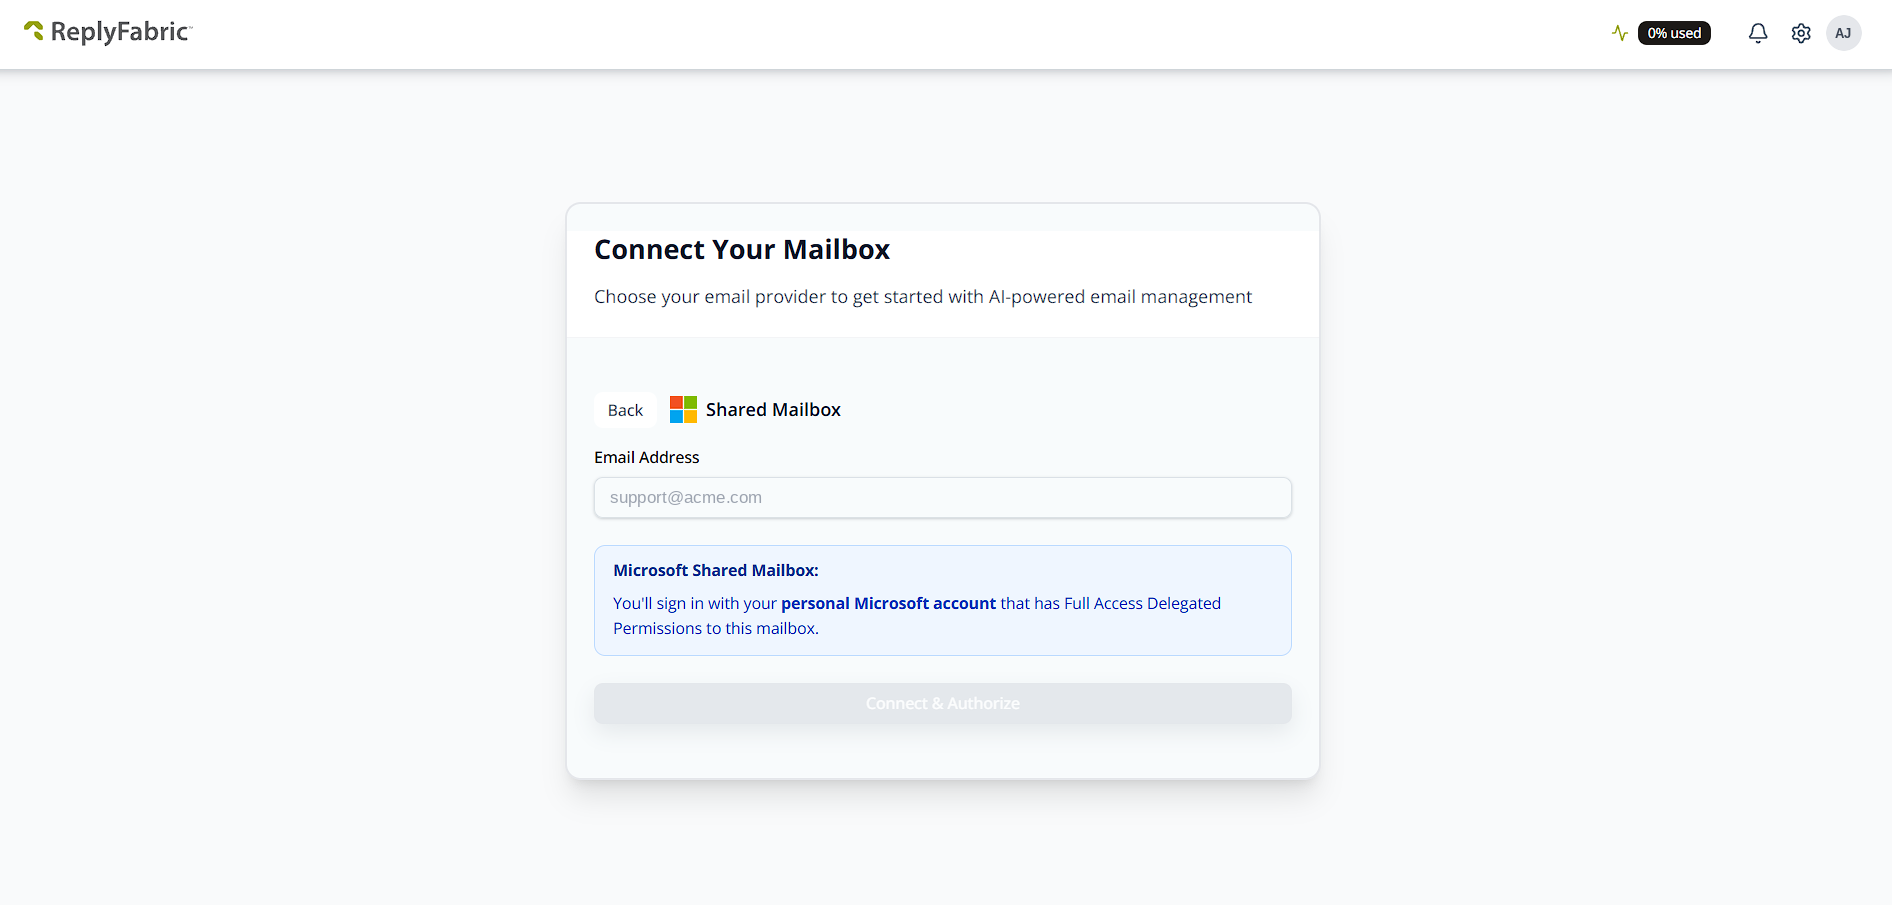
Microsoft 365
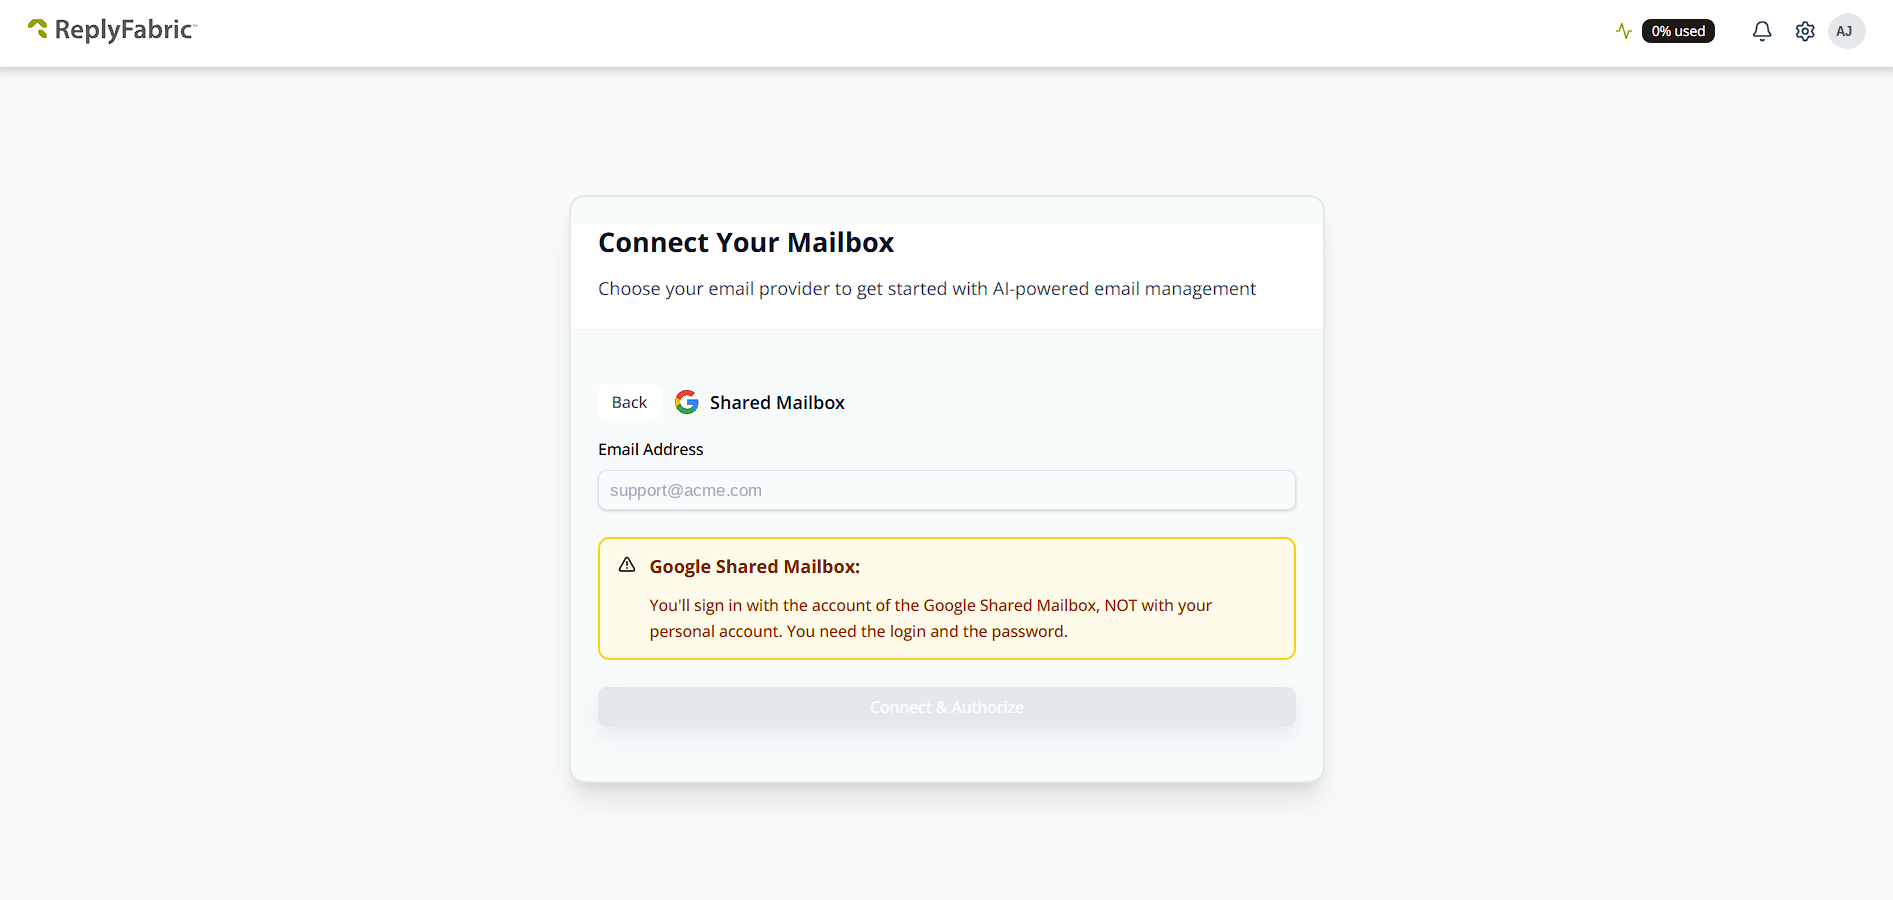
Enter the shared mailbox address (e.g. support@acme.com), then sign in with your personal Microsoft account — the one that has Full Access Delegated Permissions to the shared mailbox.
Google Workspace
It works differently for Gmail: sign in with the account of the Google shared mailbox itself, not your personal account. You need that mailbox's login and password.
For Microsoft 365 specifics — permissions, the one-time admin consent, and the errors that come up most — see Connecting Microsoft 365 Shared Mailboxes. A matching Google Workspace guide is still being written; until it's ready, contact support if a Gmail connection gives you trouble.
Blocked with an "admin approval required" error on Microsoft 365? No one has connected a shared mailbox for your organization yet with org-wide consent checked — see step 5 of Connecting Microsoft 365 Shared Mailboxes for how a Cloud/Application Administrator can resolve it in one step.
What's next
That's it — your mailbox is connected and AI-drafted replies are on their way. Next steps:
- Inviting Users: Bring Your Team into the Shared Workspace
- Personas
- Add a New Mailbox — connect another one any time from Mailbox Management