Connecting Microsoft 365 Shared Mailboxes
Connect a Microsoft 365 shared mailbox — support@, sales@, info@ — so ReplyFabric can read what arrives there,
categorize it, and draft replies for your team. It takes a couple of minutes, and the whole authorization happens on
Microsoft's own sign-in and consent screens; ReplyFabric never sees a password.
If you haven't created your ReplyFabric account yet, start with Sign In & Connect — this guide picks up from "Add a shared mailbox."
Prerequisites
- The email address of the shared mailbox (e.g.,
support@yourcompany.com). - A user account with Full Access Delegated Permissions for that shared mailbox in Exchange.
- For the first mailbox connected in your organization: that user should ideally be a Cloud Administrator or Application Administrator (or higher), so they can consent on behalf of the organization. See Microsoft's guide on managing application permissions and the Graph permissions reference for background on individual scopes.
ReplyFabric connects to a Microsoft 365 shared mailbox using secure OAuth 2.0, through an app called ReplyFabric Mailbox Connector. Because this app requests mailbox permissions, the very first time it's connected in your organization, whoever connects it should be a Cloud/Application Administrator (or higher) so they can grant consent for the whole organization in one step — after that, any team member with delegated access to a shared mailbox can connect additional mailboxes themselves, with no IT involvement needed.
Step-by-Step Connection Process
-
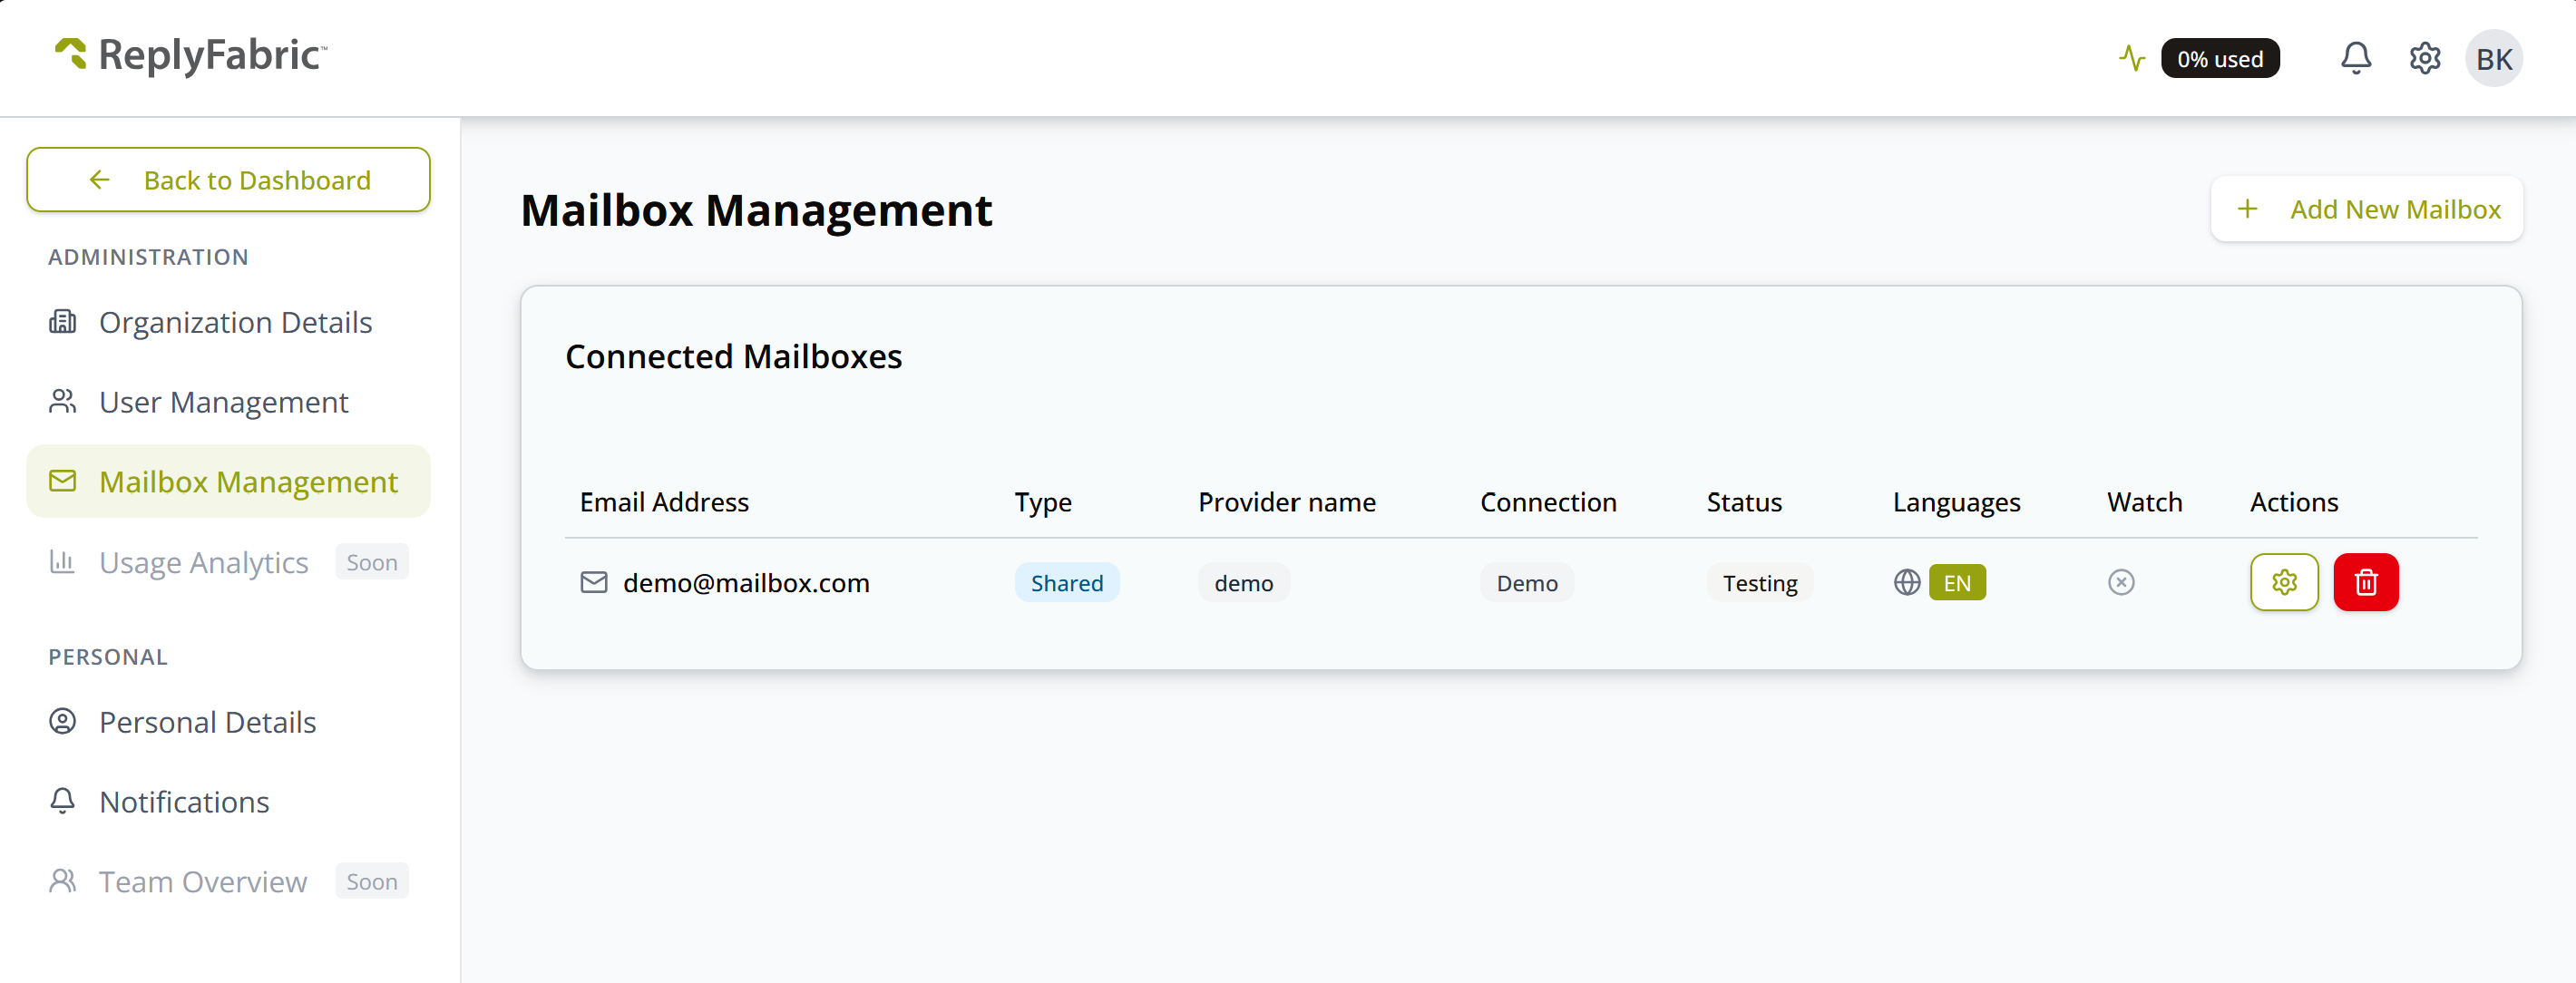
Open Mailbox Management: Click the gear icon in the top-right corner, next to your initials, then click Mailbox Management in the sidebar. Click Add New Mailbox.
-
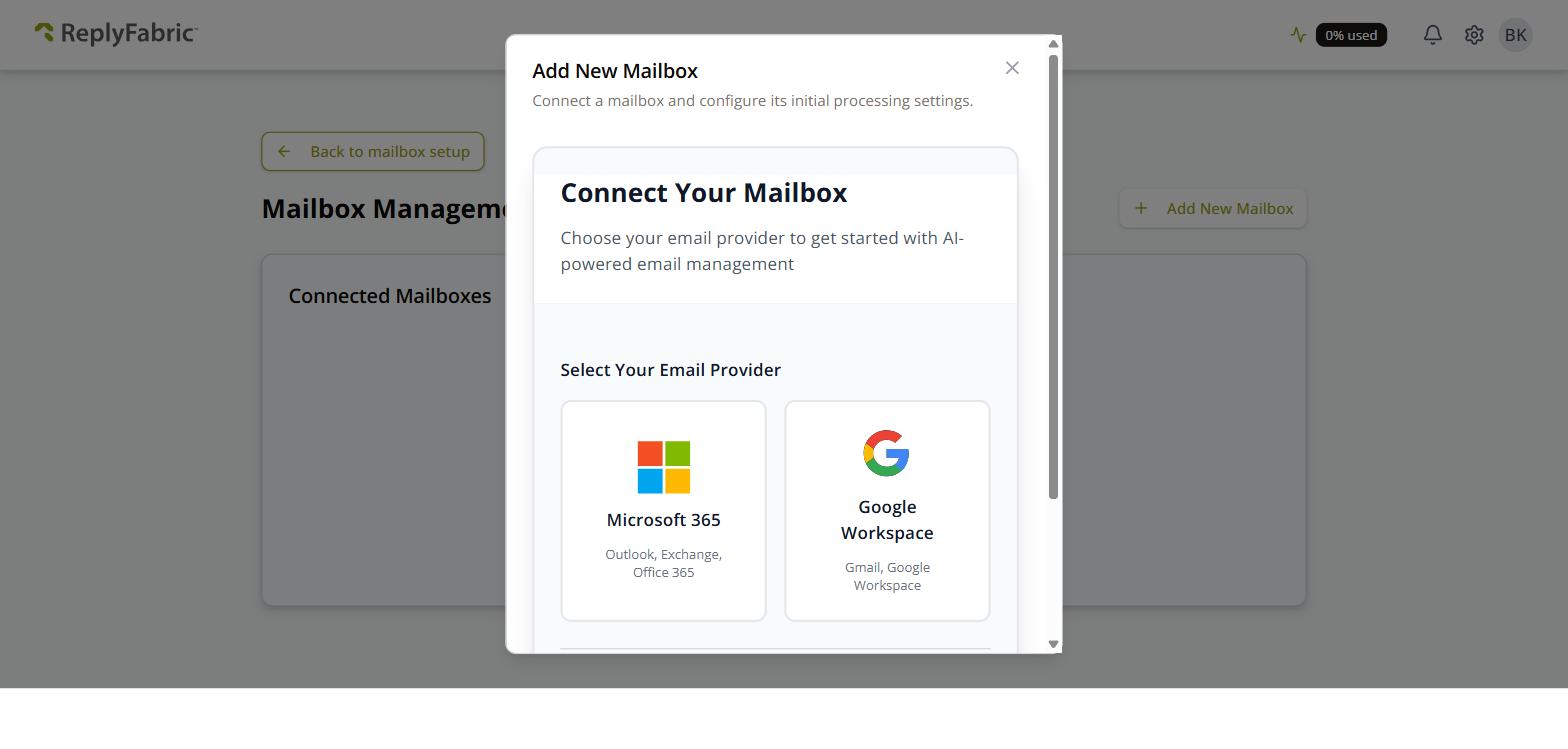
Select Microsoft 365: Choose Microsoft 365 as your email provider.
-
Enter the shared mailbox address: Type the shared mailbox's email address (e.g.
support@yourcompany.com). ReplyFabric reminds you to sign in with the personal Microsoft account that has Full Access Delegated Permissions to it — not an admin account signing in on the mailbox's behalf. Click Connect & Authorize.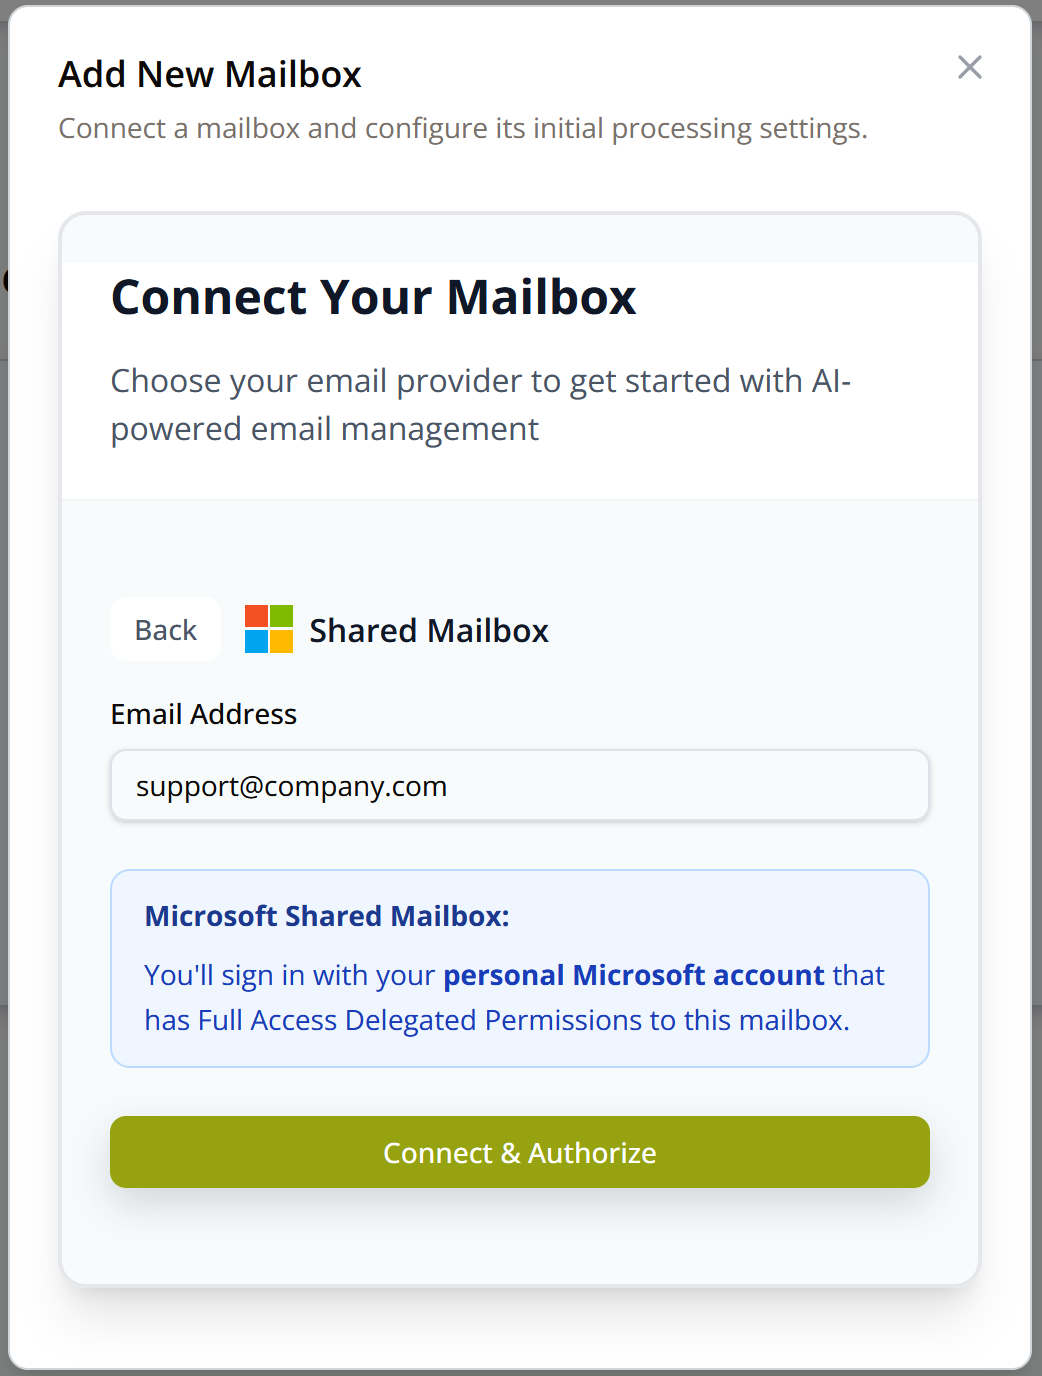
-
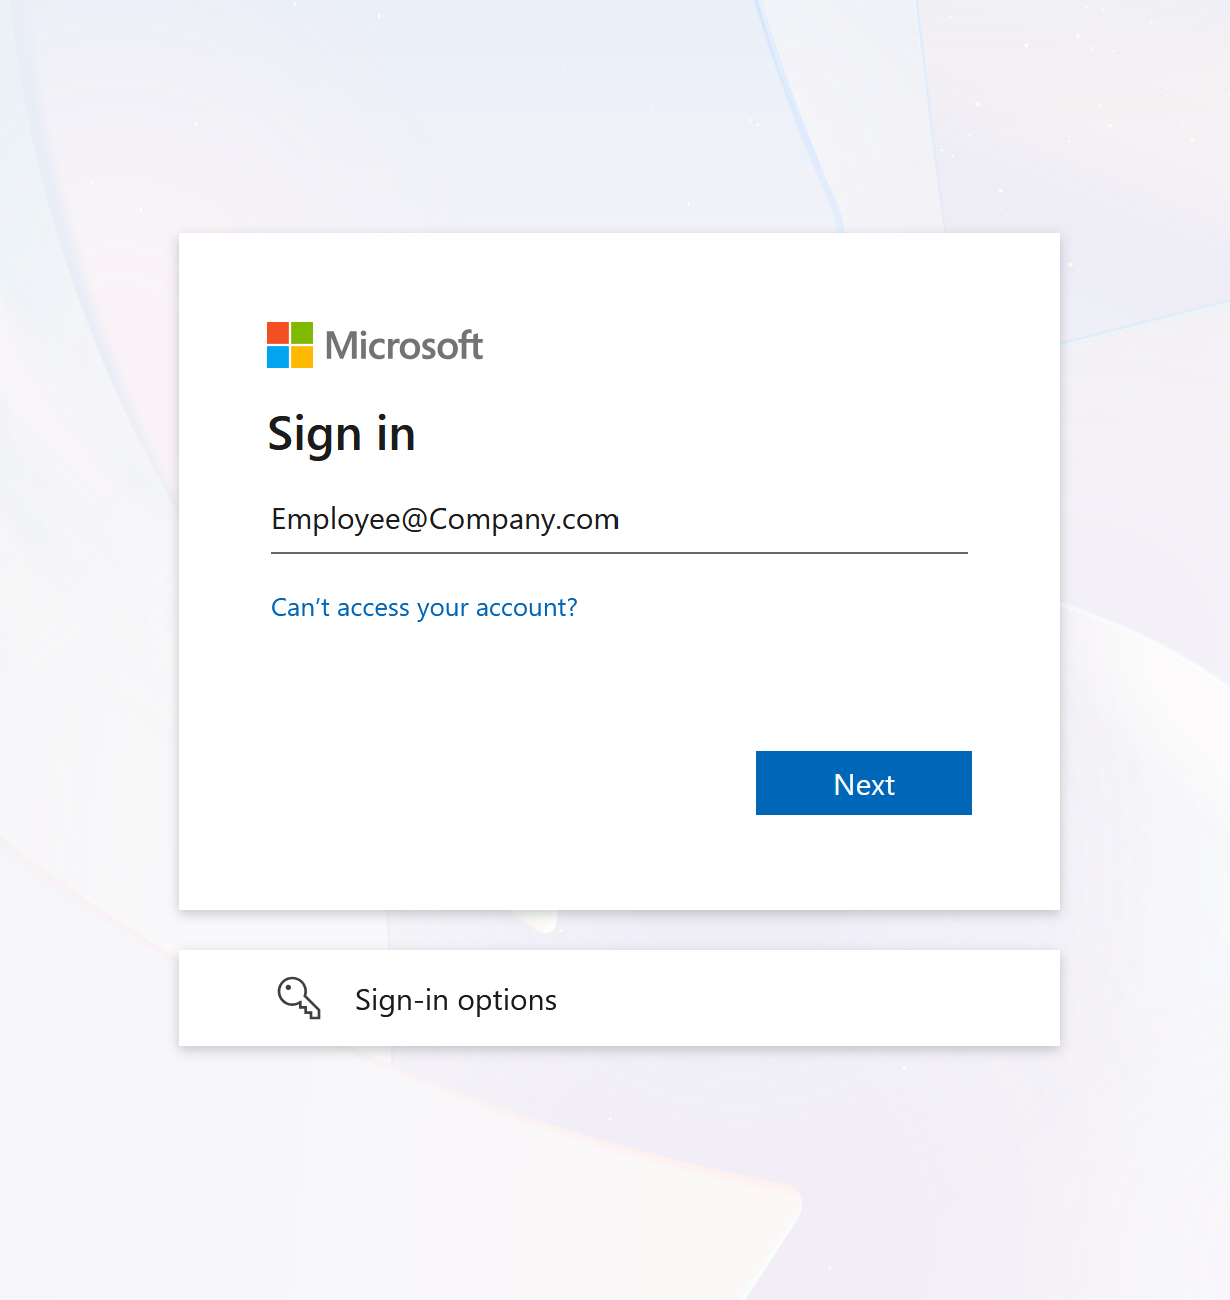
Sign in to Microsoft: You'll be redirected to the Microsoft sign-in page. Sign in with your own personal work account — the one that has Full Access Delegated Permissions to the shared mailbox. Do not enter the shared mailbox's own address here: a Microsoft 365 shared mailbox normally has no password of its own to sign in with, so ReplyFabric reaches it through your delegated access instead.
-
Review and accept the permissions: Microsoft shows a "Permissions requested" screen for ReplyFabric Mailbox Connector, listing:
- Maintain access to data you have given it access to
- Sign you in and read your profile
- Read and write mail you can access
- Send mail on behalf of others or yourself
- Read and write to your mailbox settings
If you're signed in as a Cloud/Application Administrator, this screen also shows a "Consent on behalf of your organization" checkbox, shown checked below. Regular team members won't see this checkbox at all — they'll see the same list of permissions without it.
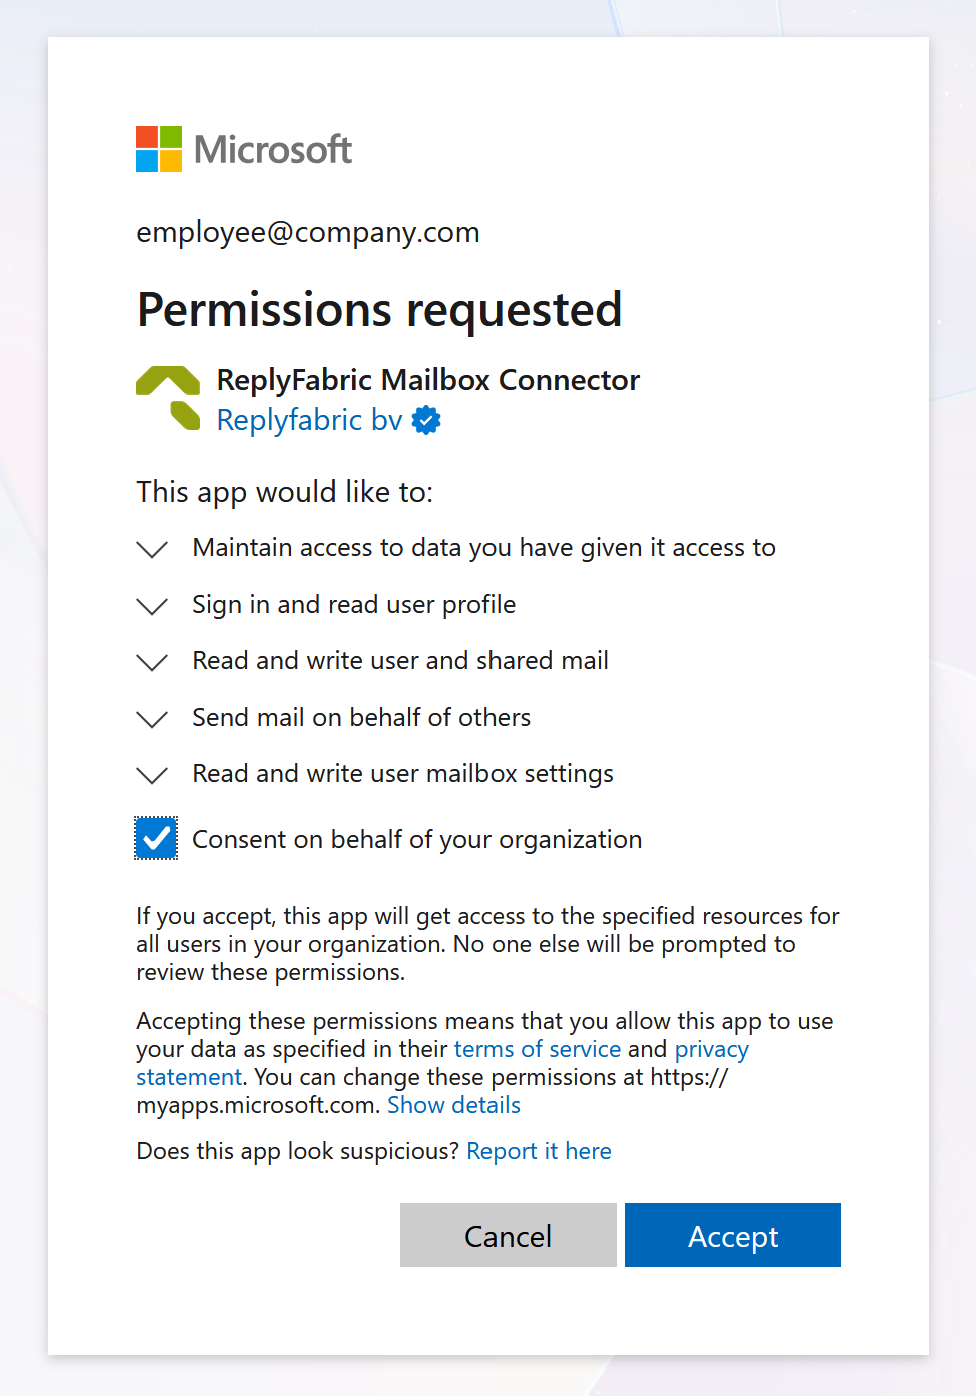
Click Accept.
Connecting the first shared mailbox in your organization? Check that "Consent on behalf of your organization" box before clicking Accept — this grants org-wide consent in one step, so no other team member will hit an "admin approval required" error when they connect additional shared mailboxes later.
-
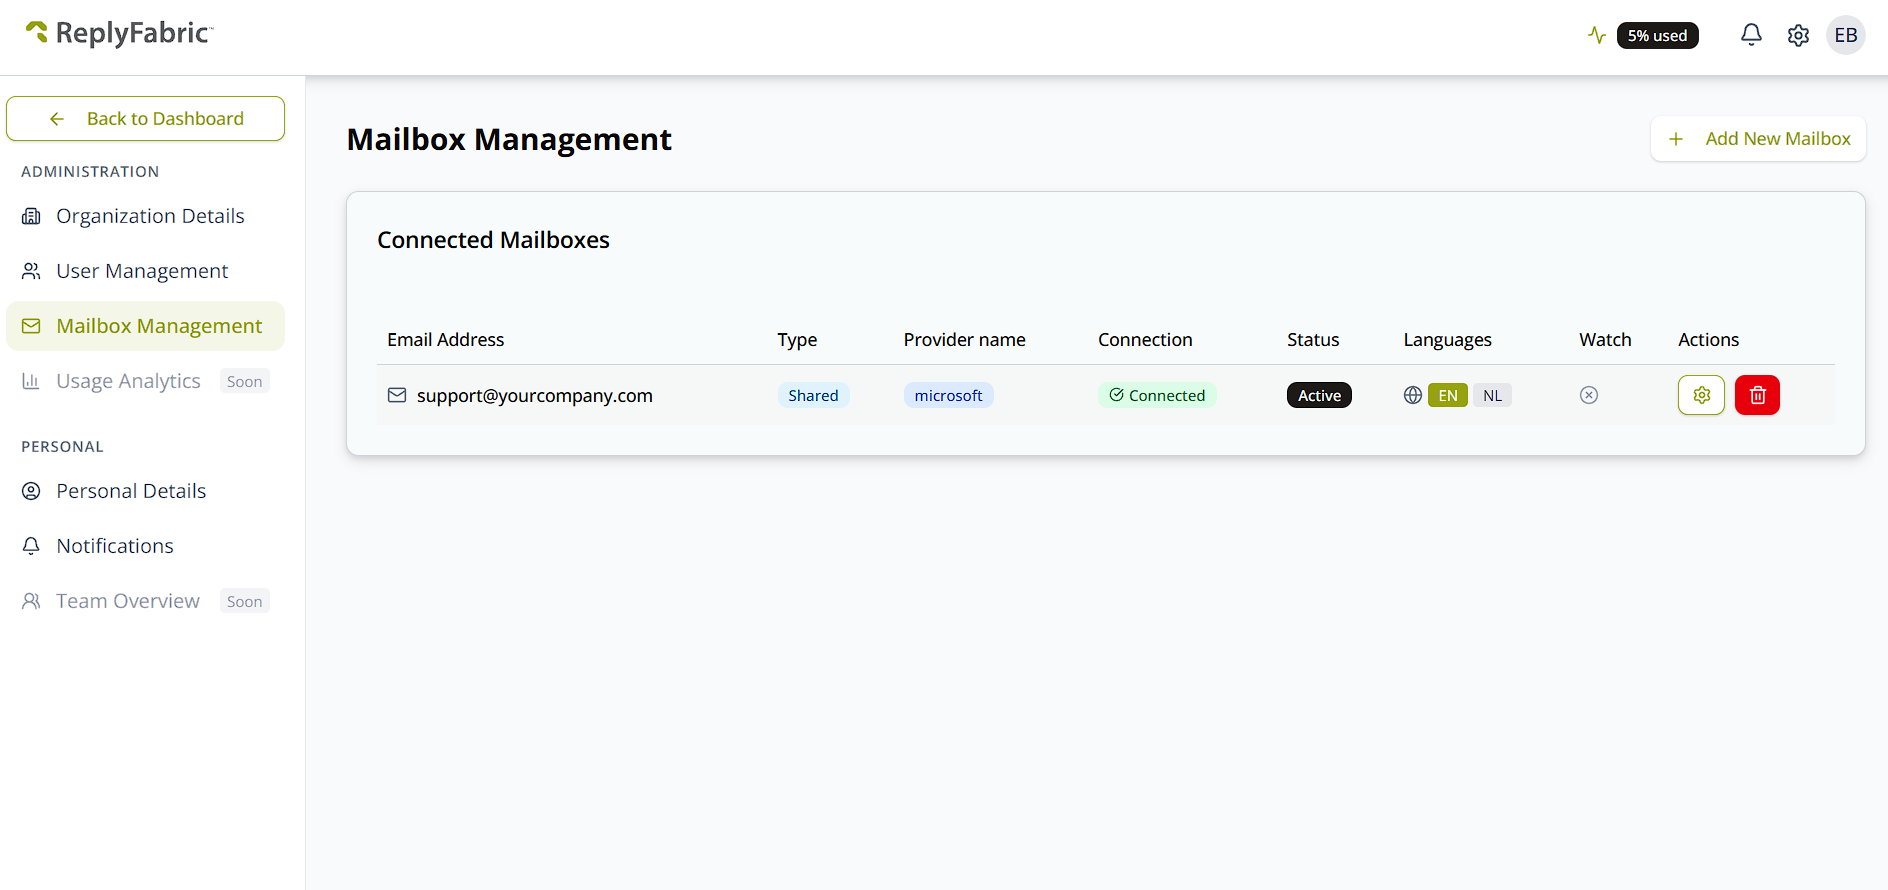
Confirm the connection: Once authorized, the mailbox appears in Mailbox Management with a Connected status.
Troubleshooting Common Issues
- "Admin approval required" / "Needs admin approval": No one has connected a shared mailbox for your organization yet with the "Consent on behalf of your organization" box checked (step 5 above). Ask a Cloud Administrator or Application Administrator to connect a shared mailbox once and check that box — after that, everyone else can connect without hitting this error.
- "User is not authorized" / can't access the shared mailbox: The Microsoft account you signed in with doesn't have Full Access Delegated Permissions on the shared mailbox. Ask your Exchange administrator to grant it, then reconnect.
What's next
- Sending From an Alias in a Shared Mailbox (Microsoft 365) —
once the mailbox is connected, grant Send as and turn on sending from aliases if the team replies from
sales@,invoices@, or similar addresses on it.